Swap cabinet knobs without guessing the measurements
Measure the door, the existing hardware and the space around it before ordering replacement cabinet knobs.
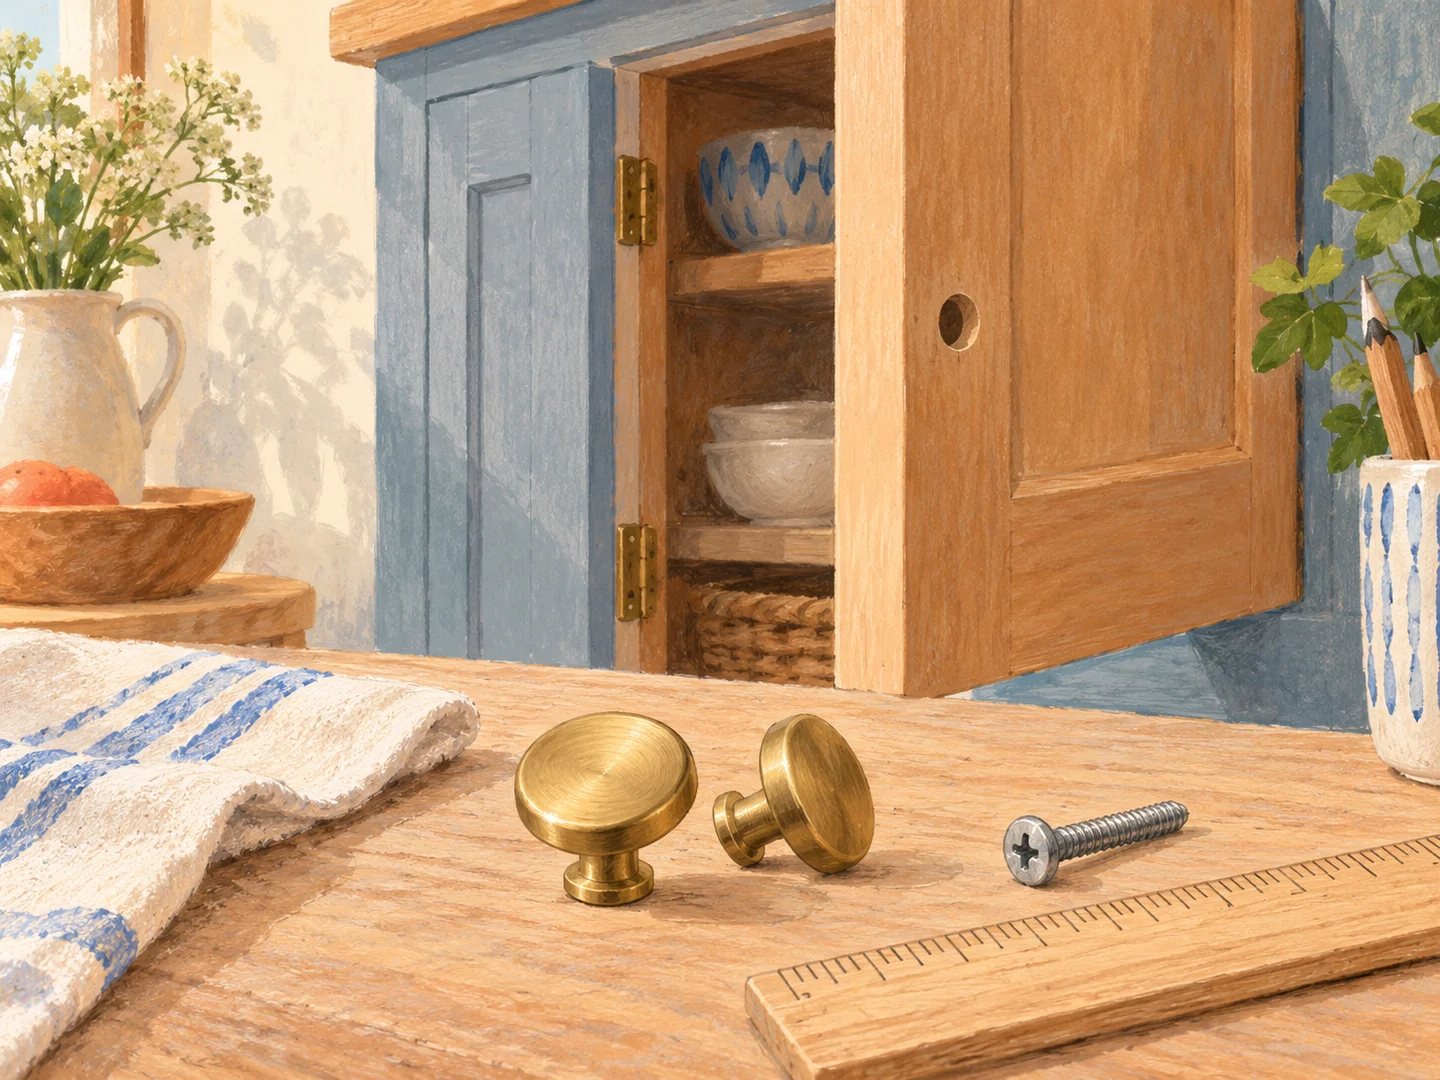
A matching finish does not mean a matching fit
Cabinet knobs are a small purchase with several measurements hiding behind it. Start by removing one existing knob and keeping its screw with it. Note the thickness of the door or drawer front, including any extra panel the screw passes through. Measure the old knob's base as well as its projection; a new base may expose a ring or indentation in the finish.
Count the fittings by type and location, including smaller cupboards that are easy to miss. A photograph with a simple count beside each run helps avoid ordering one short. If the design is directional, check whether left- and right-facing versions exist. A sample knob may look correct alone but create an unintended pattern when repeated across a row of doors.
If the current hardware has two holes, it is a pull rather than a single-hole knob. Measure the distance between the hole centers, not the overall length of the handle. Replacing it with a knob would leave an unused hole unless you undertake additional repair. Photograph the back and front of one fitting so the arrangement is easy to compare while shopping.
Check the hand and the neighboring door
Try a sample if one is available. A tiny knob may look neat but be awkward to grip, especially on a heavy drawer. A large projection may collide with an adjacent door or an appliance when opened. Test the full swing, including a corner cabinet where two handles can meet. The measurement needs to work in motion, not just in a straight-on photograph.
The screw must have the correct thread for the new knob and the correct length for the cabinet. Do not assume that the old screw will fit because the head looks similar. A screw that is too short may barely engage, while one that is too long can bottom out before the knob is tight. Use hardware specified by the knob manufacturer and follow its fitting instructions.
If a drawer has an outer decorative front and a separate drawer box, its fastening route may differ from a cabinet door. Open and inspect it before buying a single screw length for the whole kitchen. Keep track of which locations need which fasteners rather than mixing them in one bowl.
Replace one complete area first
Fit one knob by hand with the appropriate screwdriver, keeping it straight and avoiding excessive force. A power driver can damage the finish or overtighten a small fitting quickly. Check for movement, then open and close the door several times. If the knob will not sit firmly, investigate the cause instead of adding random washers or glue.
Once the sample works, replace the remaining fittings in a controlled order. Keep the original hardware in a labeled bag, particularly in a rental or if you may restore the previous look. Clean the exposed area gently using a method compatible with the cabinet finish before installing each new base.
Look along the run when finished. Directional knobs need consistent orientation, but they should not be left loose simply to make a pattern point upward. Choose a design with an appropriate adjustment method if alignment matters. The successful swap feels solid every time the drawer opens, not merely different in a photograph.