Make a fabric-covered noticeboard for paper clutter
Turn a plain noticeboard into a softer-looking place for school letters, invitations and the papers you need to see.
Choose the board before the fabric
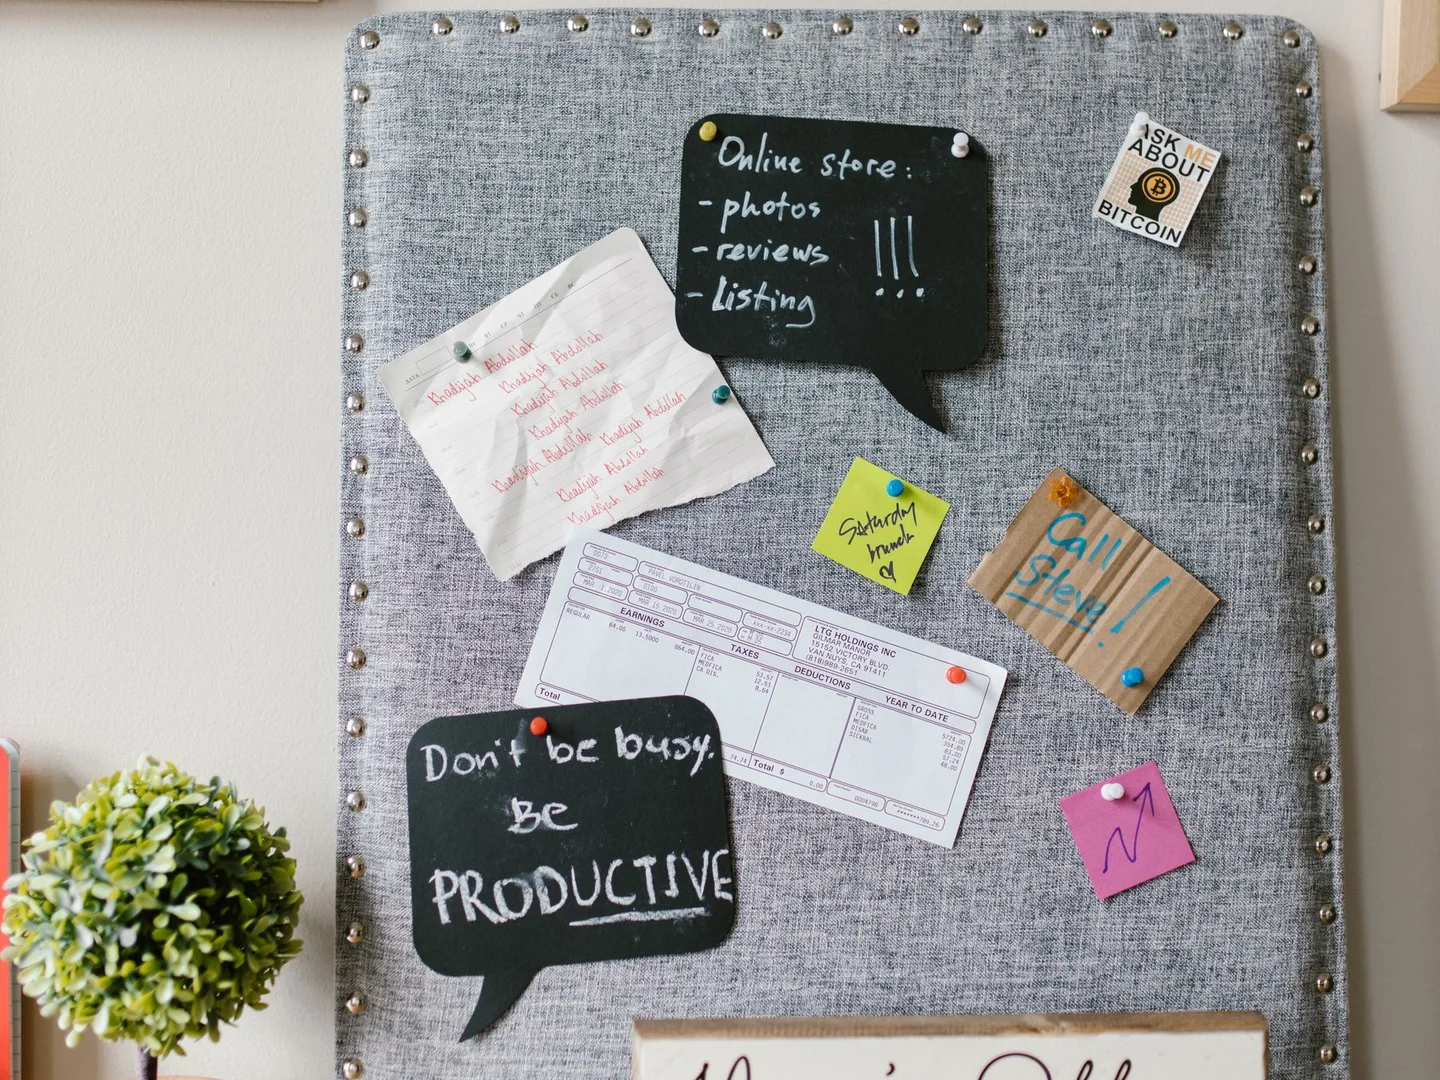
A fabric-covered noticeboard is most useful when it fits the papers that actually pass through the house. Lay out a school letter, an appointment card and an envelope on a table. That gives a better sense of the necessary surface than choosing a board because it happens to match a wall gap. Allow room to pin a sheet without covering another one completely.
Hold a fabric sample behind a white sheet of paper and a colored invitation. A busy high-contrast print may compete with both, making the board harder to scan. A quieter fabric can still relate to the room through color or texture. If the board's main job is reminders, legibility deserves more weight than finding the most striking remnant.
Use a ready-made cork board with a sound frame and a backing suited to its original hanging hardware. Very thin cork over cardboard may not hold pins well after another layer is added. Test a pin through a scrap of your chosen fabric before covering the whole board. It should reach the cork without needing to be forced through several thick layers.
Keep the surface flat
Lightweight woven cotton is easier to smooth than chunky upholstery fabric or stretchy jersey. A small print hides occasional pinholes; a large motif needs careful placement so its best part is not cut off at the frame. Press the fabric using its care instructions, then lay it face down on a clean surface with the board centered above it.
For a board whose cork panel can be removed as intended by its maker, take the panel out and wrap the fabric around that. For other boards, choose a covering method that does not interfere with the frame or original fixings. Do not dismantle a glued board simply to copy a photograph. Fabric can also be cut to the visible cork area and secured with a suitable craft adhesive, after testing for show-through on a scrap.
Work from the middle of opposite edges toward the corners, smoothing rather than pulling hard. Excess tension can distort a checked pattern or bow a lightweight backing. Fold the corners as flat as possible and keep loose fabric away from hanging points. Let adhesive cure fully before handling the board or replacing the panel.
Decide what belongs on it
Hang the board using hardware appropriate to its weight and the wall, with small pins kept out of reach of young children. A pinboard is not an accessible toddler activity. If the intended location is low or children will use it unsupervised, choose another display system without loose sharp pieces.
Divide the surface by purpose without drawing a complicated grid: perhaps current paperwork on one side and things worth enjoying on the other. A fabric pattern already gives the board visual interest, so it does not need decorative layers underneath every note. Keep a small container for spare pins somewhere secure rather than leaving them scattered along the frame.
Remove dated notices when the event is over. A noticeboard filled with last month's reminders stops giving useful information, however neatly it is covered. Leave at least one open space so a new letter can be pinned up immediately instead of being placed on the counter beneath it.