Cut removable drawer liners that lie flat
A paper pattern and a little clearance help removable liners sit neatly without permanent adhesive.
Test the drawer's shape with paper
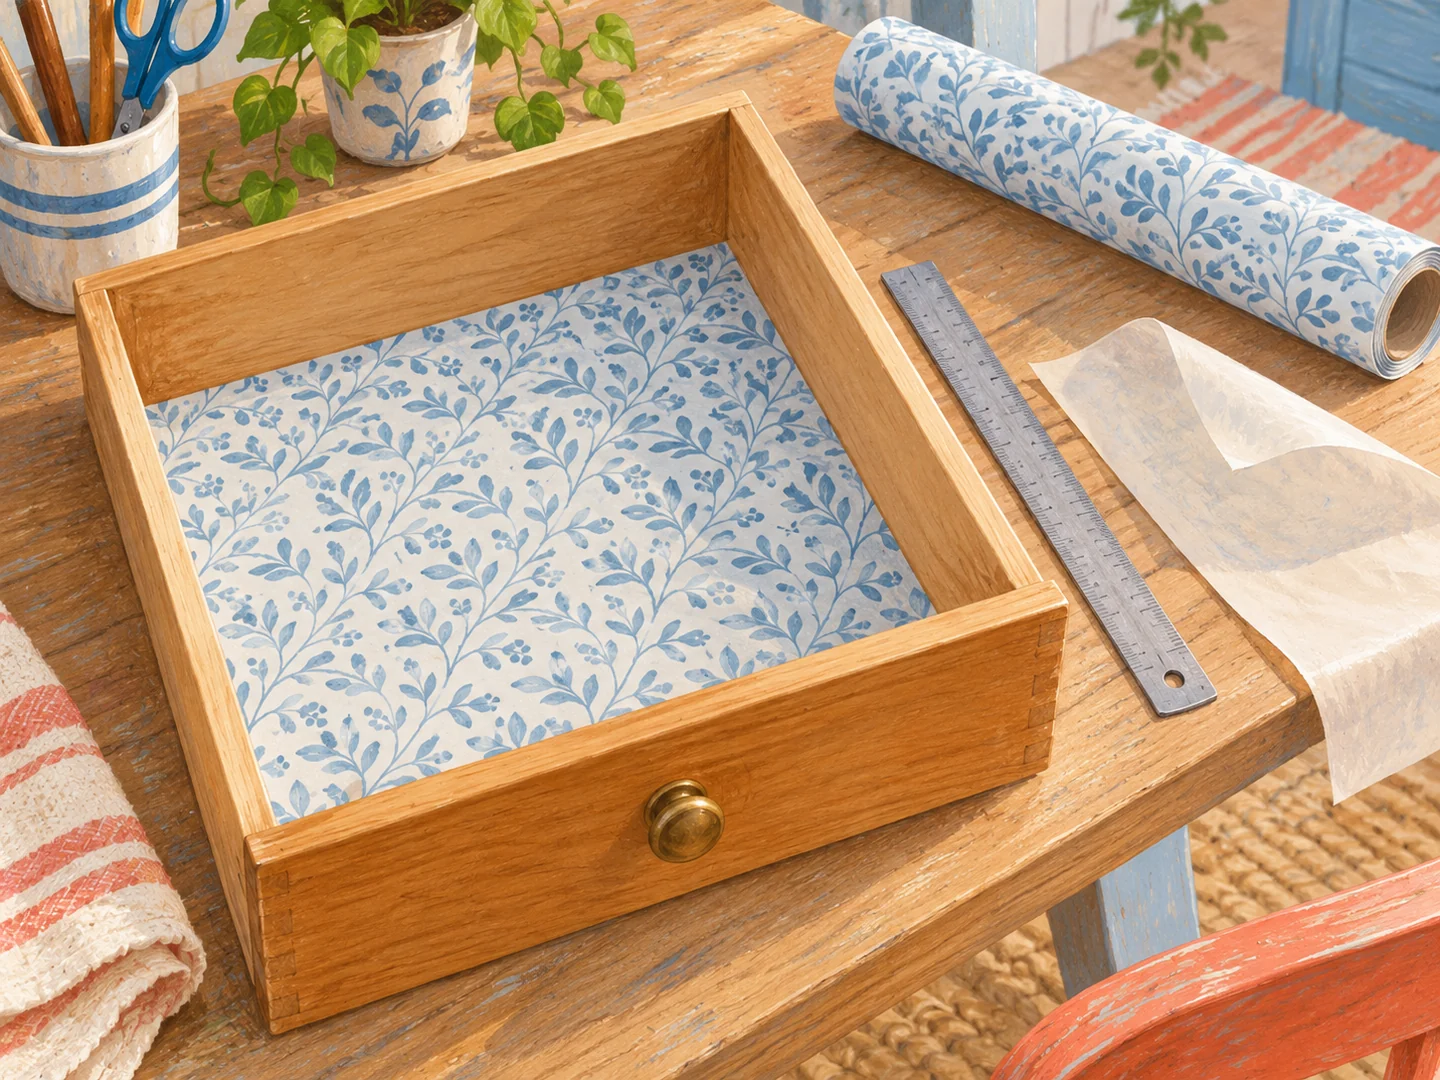
The inside of a drawer is not always a perfect rectangle. Corners may be rounded, the back slightly narrower, or screw heads may project into the base. Start with a sheet of scrap paper rather than cutting an expensive roll of liner to the drawer's outside dimensions. Join pieces of paper if necessary, press them into the corners and mark the actual outline.
Empty and clean the drawer first, letting it dry before fitting anything. A liner placed over crumbs or damp wood can hide a problem instead of improving the drawer. Check that the bottom is sound and that the drawer opens smoothly. Lining is a finishing task, not a repair for a sagging base.
Leave room for the material to settle
Choose a nonadhesive liner suitable for the items you will store. A textured washable liner may suit utensils; a smooth paper may be preferable beneath folded scarves that could catch on a grippy surface. Check whether the product is recommended for your drawer's finish. Some materials can mark coatings or stick after prolonged contact, particularly in warm conditions.
Transfer the paper shape to the back of the liner, leaving a small amount of clearance at each edge. Cut on a protected surface with sharp scissors or the cutting tool appropriate to the material. Fit the piece before trimming any more. A liner that is slightly too small usually behaves better than one that presses tightly against all four sides and curls upward.
Make cutouts for fixed projections rather than forcing the liner over them. A neat notch around a screw housing lets the rest of the sheet remain flat. Mark the position on the paper pattern first and round an internal corner slightly if the material is prone to tearing. Keep the cut no larger than necessary so small objects are less likely to catch in it.
If the roll has a strong curve, let a cut piece rest flat under clean books before fitting it. Follow the product's advice instead of heating it or adding an adhesive that defeats removability. For a deep drawer, one continuous piece is simpler to lift for cleaning than several overlapping scraps. If a join is unavoidable, position it where stored objects will not repeatedly catch the edge.
Put the contents back in groups
Return the largest items first and open the drawer several times. A lightweight liner can creep if a heavy pan slides across it, while a grippy one can drag under a tightly packed organizer. Adjust the arrangement before assuming that more liner will fix the movement. Sometimes the useful change is giving the pan a little more space.
Keep the paper template if several drawers have the same interior size, but check the second drawer before cutting all the remaining pieces. Small manufacturing differences are easy to miss. Write the drawer location on the template so it is not mistaken for another one later.
Lift the liner occasionally to clean underneath. Removable means you can inspect the base, wash or replace the material, and change the drawer's purpose without scraping away adhesive. That simple access is the main advantage; there is no need to make the liner completely invisible at every edge.