Plan a gallery wall with paper templates
Use full-size paper outlines to decide where frames belong before making the first hole.
Trace the frames you actually own
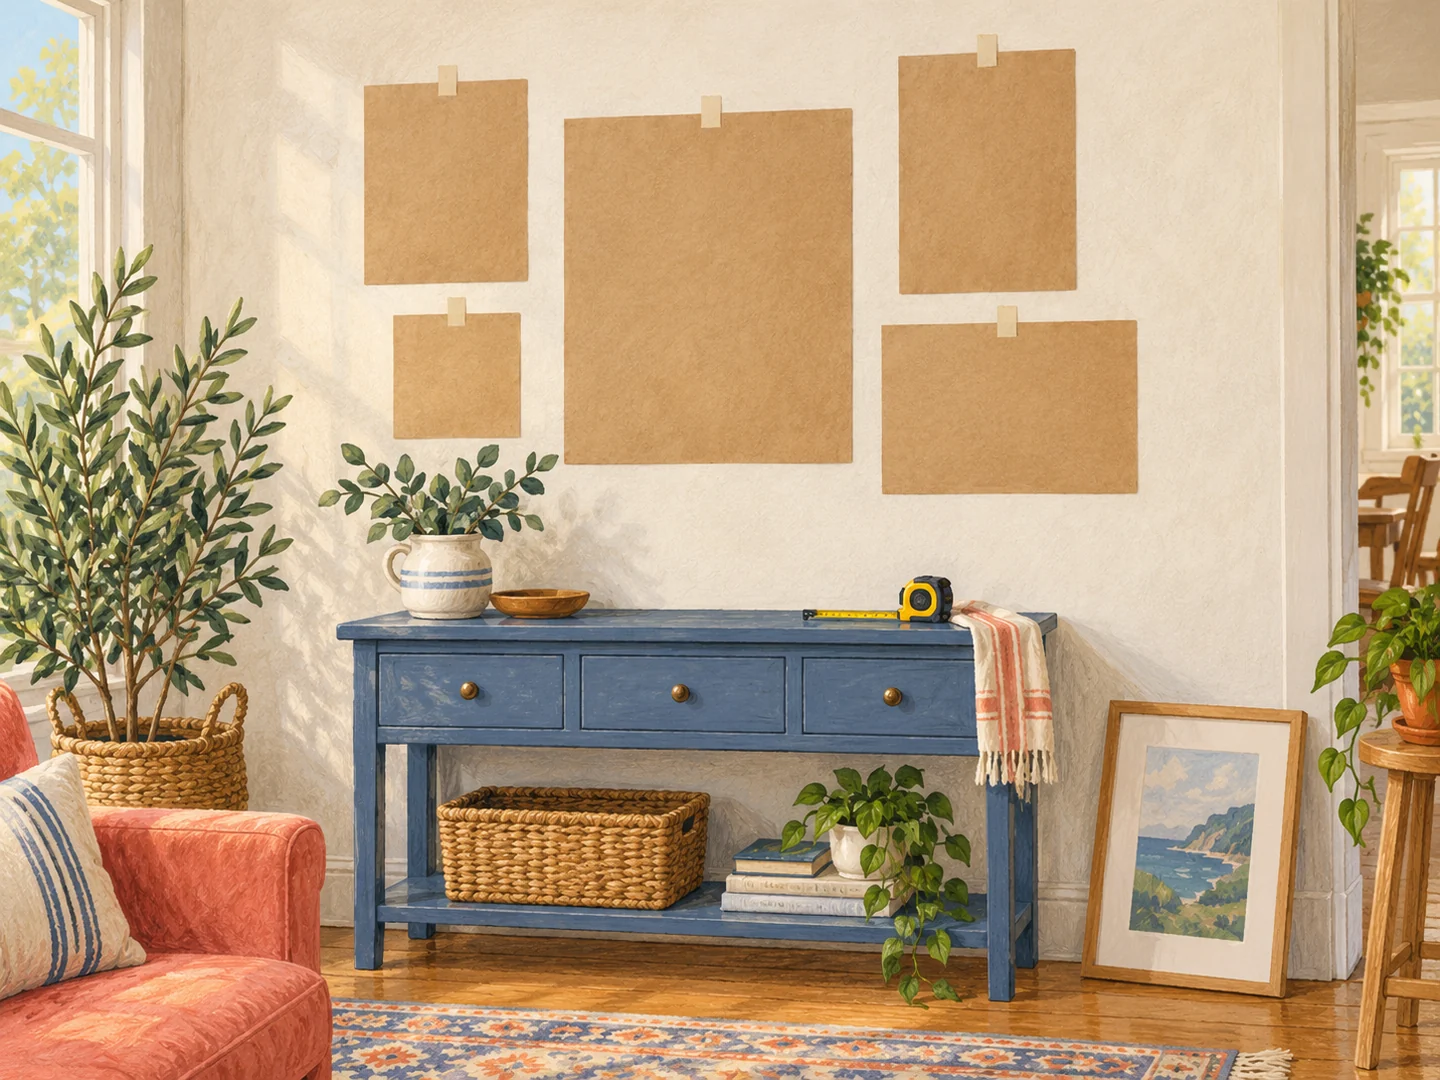
A gallery wall is easier to plan with real frame dimensions than with a collection of appealing images on a screen. Trace each frame onto paper, cut it out and write the picture's name on the front. Include the outer frame, not only the visible image. A wide frame changes the spacing even when two prints are the same size.
On the back of each template, note the frame's weight and hanging arrangement. The position of a wire under tension differs from a fixed sawtooth hanger, so do not mark a nail point by measuring an unloaded wire lying against the back. Follow the frame and hardware instructions, and get help for heavy or complicated pieces.
Arrange at normal viewing distance
Start with the largest or most important frame and place its paper outline on the wall using a removable method compatible with the paint. Test the tape first. Add the remaining templates, leaving gaps that look intentional without insisting that every outside edge align. A common horizontal line through part of the grouping can provide order while allowing different frame sizes.
Look from the doorway and from the seat where you usually view the wall. Check the grouping with the furniture beneath it. Pictures that seem well positioned on an empty wall can appear to float too high once a low console or sofa is considered. Leave space around switches, vents and objects that need access.
If the display includes photographs of people, consider which images sit beside one another. Two strong faces looking in opposite directions can draw the eye outward, while quieter images may help connect them. This is not a rule that every portrait must face inward; it is a reason to try the actual pictures on the floor alongside the paper wall plan before settling the order.
Keep the paper arrangement up long enough to see it in normal use. Open the door fully, pull a chair out and turn on the nearby lamp. A frame may be technically clear of a door but still feel crowded by its movement. This is the stage when shifting the whole group costs nothing.
Translate the plan into appropriate fixings
Before drilling, assess the wall construction and check for concealed services using suitable methods. Choose fixings rated for the frame and substrate, following their instructions. Do not assume that all the frames can use the same nail because they belong to one display. Wall mounting is a separate decision from the paper composition.
Mark each verified hanging point on its template. Work through the frames in an order that preserves the reference positions, and remove the paper as you fit each piece. Keep the templates until the entire group is up. If one frame hangs differently from its plan, measure the hardware again rather than moving several neighboring frames to disguise the error.
Finally, check that every piece is secure and level where intended. A gallery wall can include visual irregularity without loose frames or improvised supports. Keep heavy glazing out of vulnerable positions and follow suitable precautions for a home with children. The paper plan gives you freedom to experiment; the finished hanging should feel settled.