Plan a removable backsplash around awkward edges
Map the cuts, clearances and stopping points before a removable backsplash reaches the wall.
Removable is a claim to check
Adhesive backsplash products differ in thickness, surface requirements, heat limits and removal methods. Some can take paint off with them. Before treating one as a rental-friendly solution, check the exact product instructions, your lease and the condition of the existing wall. A trial patch in an inconspicuous place gives useful information, although it cannot guarantee an identical result after years of use.
Read the appliance and tile instructions together wherever a stove or another heat source is nearby. A decorative sheet does not replace a required heat-resistant surface or change appliance clearances. Smart Tiles, for example, gives product-specific restrictions on direct heat and steam. If the proposed position is outside the product's approved uses, stop the layout there or select a different material.
Draw the whole run
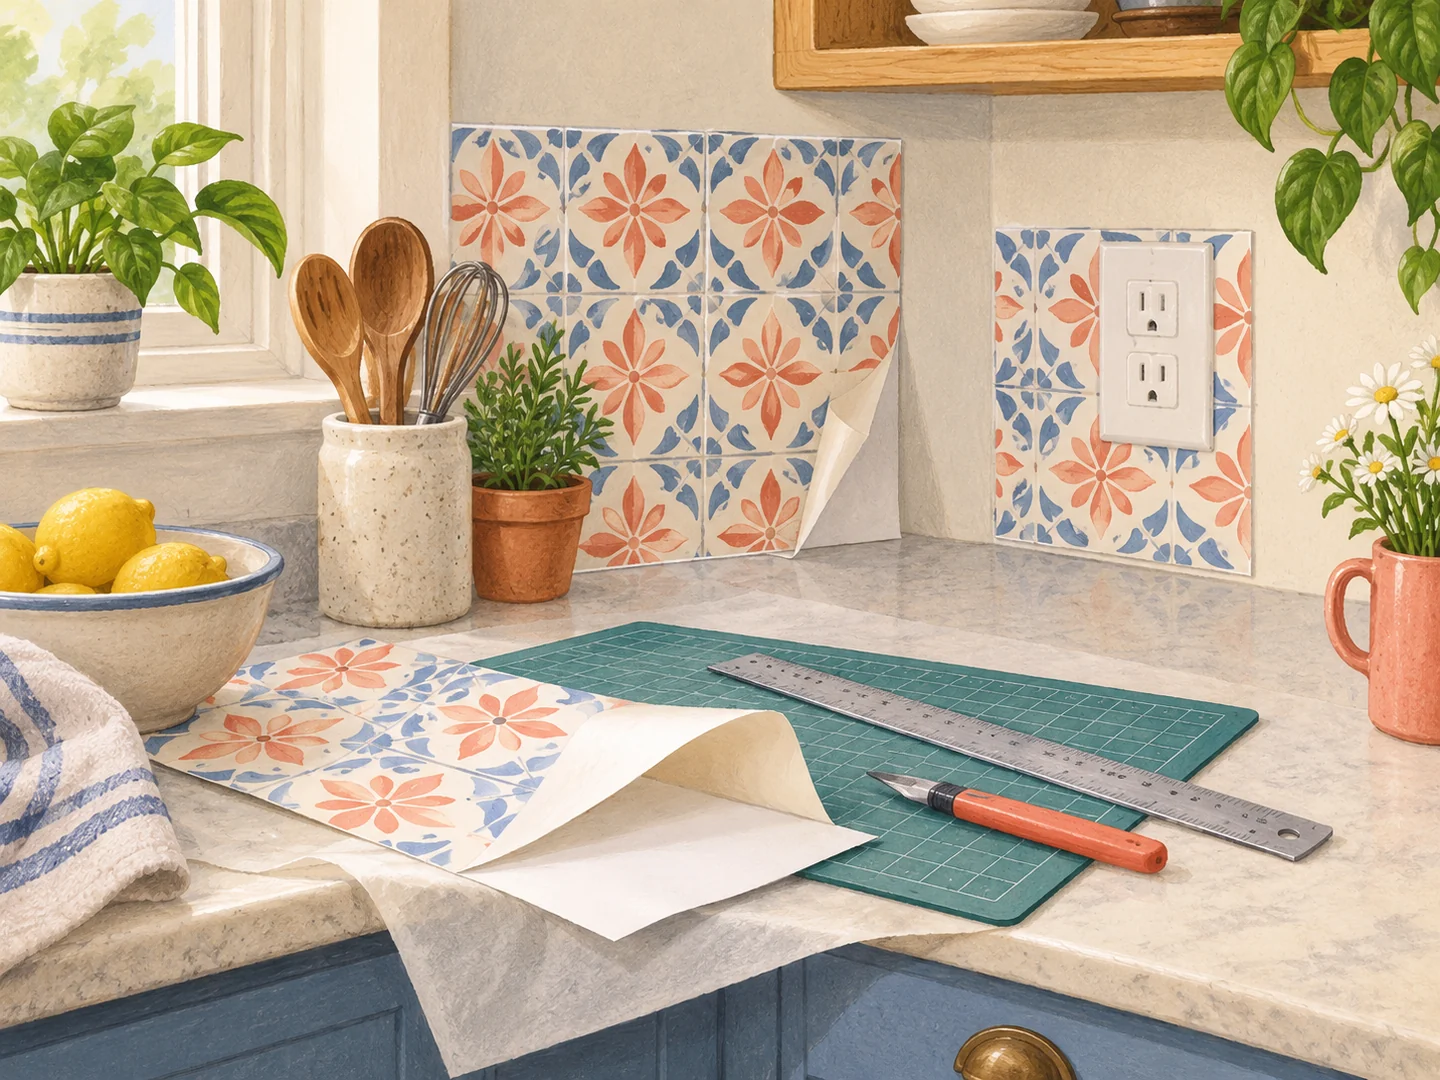
Measure the wall in several places. Mark outlets, switches, corners, cabinets and any change in height on a simple sketch. Then draw the sheet pattern over that outline, including overlaps if the product uses them. This reveals whether a narrow sliver will appear at a highly visible end or whether a grout-like line will stop awkwardly beside an outlet.
Use paper templates around difficult shapes. A template costs little to revise and helps avoid transferring a reversed cut onto a printed sheet. Number the templates in their installation order and indicate which edge faces upward. Do not assume that the second side of a corner has the same dimensions as the first.
Order enough material for the actual cutting plan, including reasonable waste and any pattern repeat specified by the maker. Area alone can underestimate the requirement around several outlets or a stepped cabinet line. Keep sheets from the same batch together where possible and compare their appearance before installation. If there is a visible variation, resolve it while the backing is still on rather than discovering it halfway across the wall.
Choose a stopping point with a reason: the end of a cabinet run, a wall corner or a manufacturer-approved finishing strip. A random edge halfway across open wall usually looks unfinished. Check how thick the finished edge will be before buying trim; a bulky molding can make a thin peel-and-stick surface appear heavier than intended.
Prepare without rushing the wall
The wall must meet the manufacturer's requirements for smoothness, cleanliness and dryness. Fresh paint may need substantially longer than a dry-to-touch interval before adhesive can be applied. Follow the product's waiting period rather than covering a freshly painted wall the next morning. Grease or cleaning residue can undermine adhesion even when a wall looks clean.
Plan work around electrical fittings carefully. Never cut into the wall or wiring, cover ventilation openings, or work on exposed electrical components while energized. If removing a cover reveals anything unfamiliar, use a qualified electrician. The project should not require altering an outlet, pushing it behind the new surface or making up a new mounting arrangement.
Establish the starting line using the method the tile maker specifies. Countertops and cabinets are not always level, so check the line rather than following the nearest edge automatically. Dry-fit the first pieces and confirm the pattern direction before peeling the backing. Work in manageable sections, applying the pressure and overlap specified for that product.
Keep the offcuts until the job is finished
An offcut may be useful at a final corner or for a future repair. Keep it with the product name, batch information and removal instructions. Photograph the completed run so the pattern is easy to reconstruct if one sheet must be replaced.
After installation, inspect the edges without repeatedly lifting them to see whether they have stuck. Follow the waiting period before cleaning or exposing the surface to normal kitchen use. If an edge will not bond, identify the reason rather than hiding it under extra glue. Adding a permanent adhesive can defeat the very reason for choosing a removable backsplash.
The finished surface should make sense from the doorway as well as close up. A slightly quieter pattern with cleanly planned edges often looks more convincing than a dramatic tile effect interrupted by tiny cuts and mismatched joins.