Cut patterned-paper inserts for plain photo mats
A narrow patterned-paper border can connect a photograph to its frame without covering the photograph itself.
Work with an existing mat opening
Begin with a ready-cut photo mat whose opening suits the image. The purpose of the patterned insert is to add a visible border, not to make an undersized photograph disappear beneath layers. Place the photograph behind the mat and check that faces, lettering and important details remain clear before introducing another color.
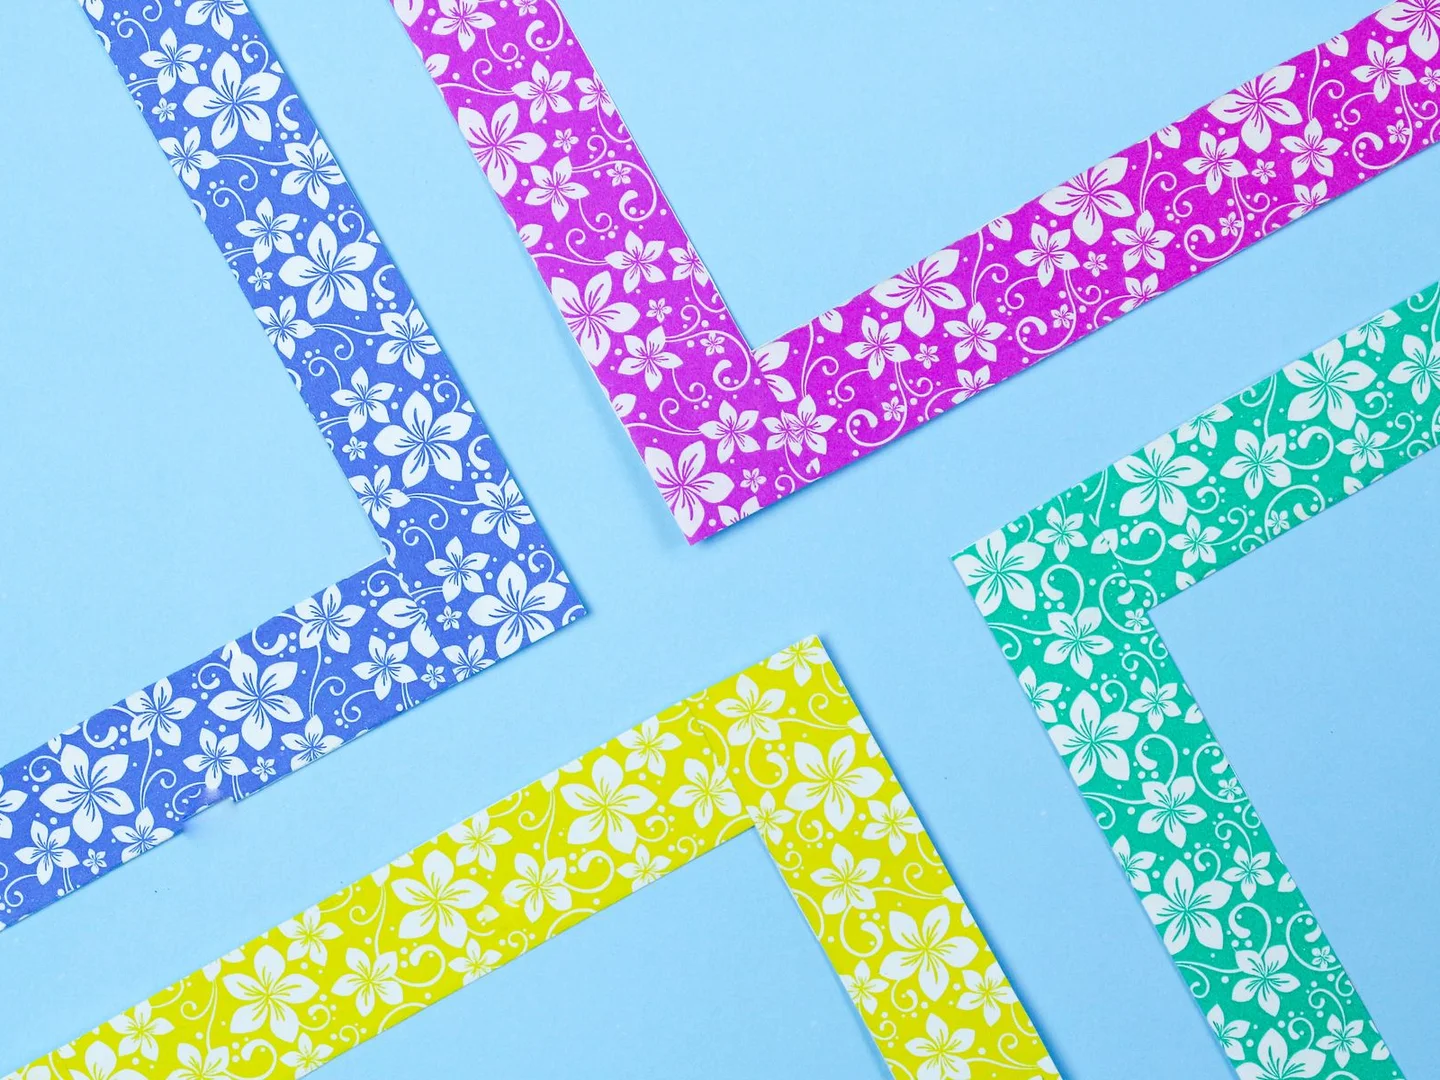
Try several paper strips around the opening without attaching them. A small-scale pattern often reads more quietly than a large motif cut into narrow pieces. Pull a color from the image or choose a neutral pattern if the photograph is already busy. Check the combination at the distance from which the frame will be viewed.
Make a window rather than four uneven strips
For a consistent border, cut a single paper rectangle larger than the mat opening and then cut its inner window. Mark all measurements on the back. Use a ruler, a cutting mat and a suitable sharp craft knife, keeping fingers out of the cutting path. If you are not comfortable cutting a window, use a professionally cut decorative mat instead.
Test the insert behind the mat before attaching it. The visible border should be even where intended, and its inner opening should still overlap the photograph enough to hold the composition. Do not trim the original photo to correct a paper measurement. Remaking the insert is less consequential.
Use materials and mounting methods appropriate for photographs, especially for an image you cannot replace. Avoid ordinary adhesive tape directly on the photo. An expendable print is a sensible choice for a first attempt, while an original family photograph may deserve a more careful conservation approach.
Assemble the layers without crowding the frame
Position the paper behind the mat and secure it sparingly with a suitable method, checking the front before committing. Add the photograph using its own appropriate mount so the decorative paper is not the only thing holding it. Keep the layers flat and free from dust or loose fibers.
Check the frame's depth. Extra paper and board should not make the backing bulge or force the retaining tabs. If the stack is too thick, choose a frame that accommodates it instead of pressing harder. The glazing should not be used to flatten a badly wrinkled insert.
Hang or stand the finished frame in normal light and see whether the border supports the image. If you notice the pattern before the photograph every time, make the visible strip narrower or choose a calmer paper. This is an easy detail to change later, which is one reason to keep the mounting reversible where possible.