Build a ribbon wreath from a limited color palette
Keep a ribbon wreath coherent by choosing a small group of colors and testing the fullness before cutting the whole roll.
Select a base that suits the method
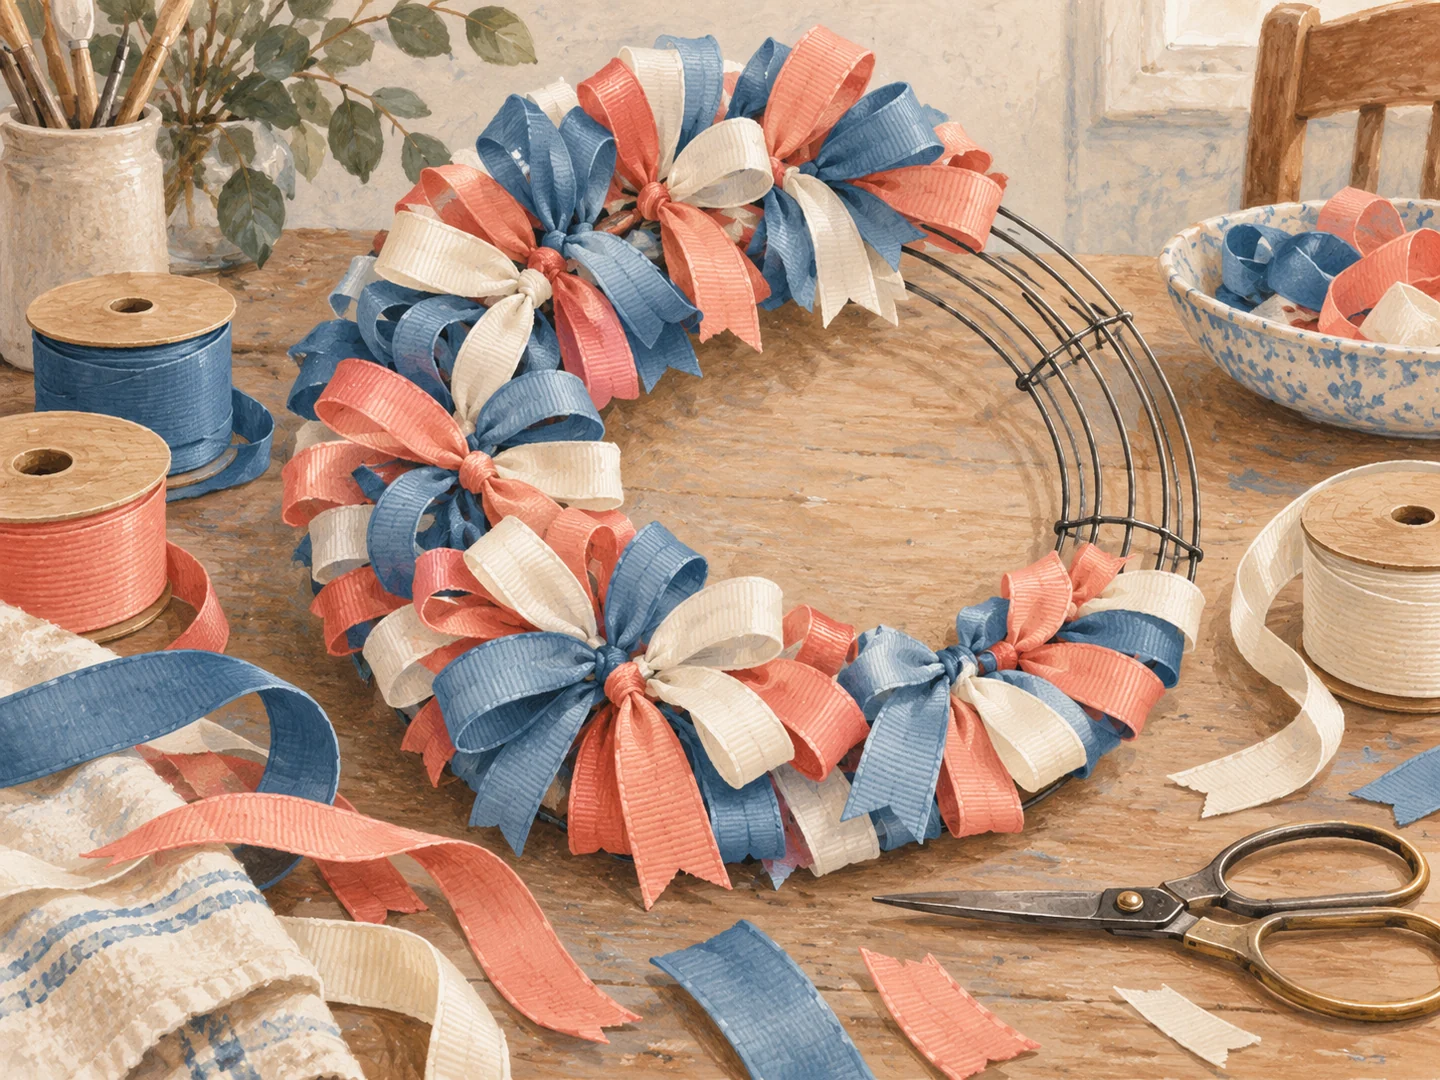
Ribbon can be tied, looped or attached in several ways, and the wreath form should be designed for the method you choose. A wire form with exposed sharp ends needs attention before it becomes a decoration on a frequently used door. Check the base for damage and plan a secure hanging point that will not rely on one decorative ribbon loop.
Choose two or three colors that have a reason to be together. One may come from the door or nearby flowers, another from a seasonal detail. Varying ribbon texture within that small palette often gives enough interest. Buying every coordinating print can make the finished wreath harder to read and leave you with many partly used rolls.
Make a test section
Prepare a few lengths and attach them to one short section of the form. Hold it upright to see how the ribbon falls. Wired ribbon keeps a looped shape differently from soft cotton tape, and a wide stiff ribbon can crowd a small form quickly. Decide on the amount of fullness here, before cutting all the material into identical lengths.
Measure the ribbon used by that section to estimate the rest, allowing for joins and mistakes. Cut on a clear work surface and finish the ends in a manner appropriate to the ribbon. Keep cut wire and small scraps contained. If adhesive is part of the manufacturer's method, use it with the specified ventilation and handling precautions rather than assuming any craft glue will hold outdoors.
A stripe or printed motif may have an obvious front and back. Turn a few trial loops outward and see whether the reverse shows in an unattractive way. Double-sided ribbon can be easier for some methods, while a single-sided print may need deliberate twisting. Resolve that detail in the sample section instead of repeatedly adjusting a fully covered form.
Work around the form in sections, distributing the colors as you go. Step back periodically to catch an accidental block of one color. Slight variation feels more relaxed than a strict sequence, but it should not be the result of running out of the main ribbon halfway around.
Check the back before hanging
Turn the wreath over and secure loose ends so they cannot scratch the door or catch a hand. Nothing sharp should project from the form. Weigh the finished piece and choose a hanger intended for that load and door surface. Open and close the door to check that the wreath does not strike a light fitting, glass panel or neighboring wall.
For an exposed entry, check that the materials are suitable for moisture and sunlight. An indoor craft ribbon may stain the door when wet or fade unevenly. A sheltered interior door can be a better setting, particularly for a first attempt.
Store the wreath without compressing its loops. A roomy box with the decoration supported flat is often more useful than squeezing it into the smallest possible container. Keep any spare ribbon with it for a future repair, and remove damaged pieces before the next season rather than disguising them with another layer.