Repaint a small side table with a smooth finish
A smooth painted side table starts with assessing the existing surface and choosing a compatible finish, not with applying a thicker coat.
Find out what the table is made of
Solid wood, veneer and laminate need different preparation. Inspect an underside edge or an existing chip to understand the construction without damaging a good surface. Thin veneer should not be sanded as though it were a thick plank, and laminate may require a particular bonding primer. Read the coating manufacturer's instructions for the actual substrate.
Check the table's stability, joints and top before planning a color. A wobbly leg, swollen board or peeling veneer deserves repair or professional assessment first. Paint can change appearance but will not make a damaged surface structurally sound. If an older painted finish may contain lead, investigate that before disturbing it; do not begin with a power sander as a default.
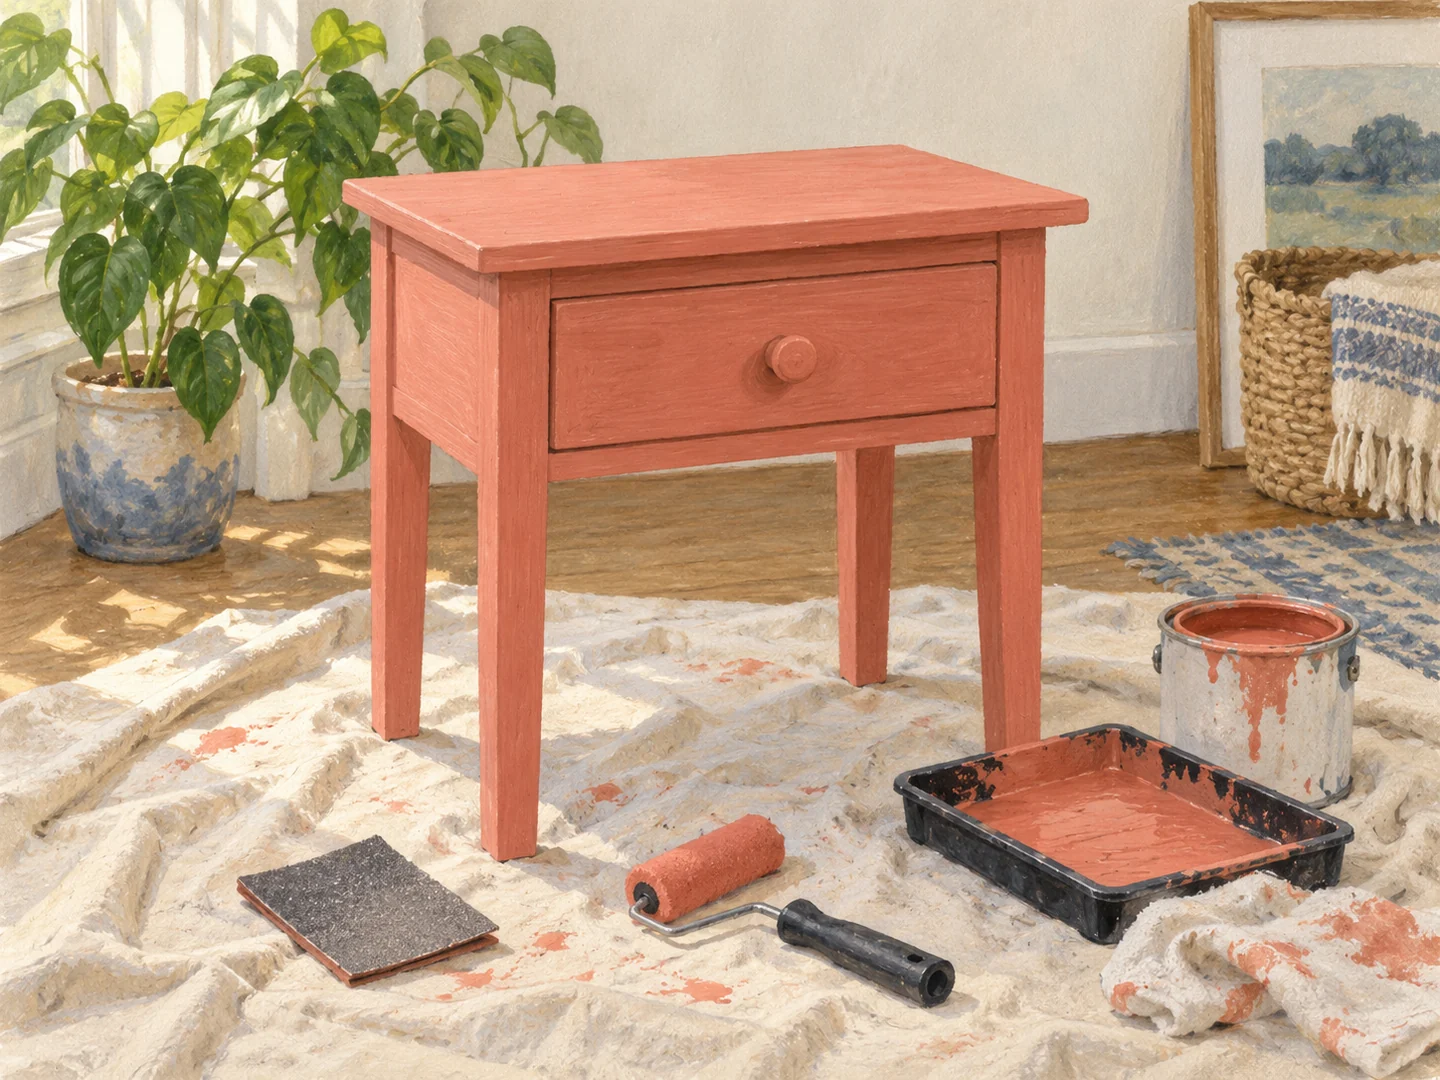
If the table includes a drawer, remove it as intended and note the areas where it slides or meets the frame. Those contact surfaces may need to remain unpainted or require a particular treatment to preserve the fit. A drawer that worked smoothly before painting can bind after unnecessary coating buildup. Keep the original gap and movement in view when deciding exactly which surfaces will receive color.
Think about how the table will be used. A bedside table mainly sees books and glasses, while a living-room table may receive mugs, toys and frequent wiping. Select a furniture coating suitable for that use and decide whether the system requires a primer or protective topcoat. Mixing unrelated products because they are already in the cupboard can create adhesion or curing problems.
Make a work area that allows waiting
You need somewhere the table can remain while coats dry and cure, not just a patch of floor for an hour of painting. Protect surrounding surfaces, provide the ventilation the products require and keep children and pets out. Gather appropriate cleaning materials, abrasives if permitted, brushes or rollers, and the protective equipment listed on the labels.
Remove knobs or detachable parts where the construction allows and label the hardware. Clean before any permitted abrasion so grease is not worked into the surface. After preparation, remove dust thoroughly using a compatible method. Residue from a polishing product can be difficult to spot but may affect the new coating, which is why testing a small area matters.
Inspect the surface in raking light. Raised scratches, old drips and dents will often remain visible through paint. Address only the defects you can repair appropriately, allowing fillers and primers their required drying times. A slightly worn piece can still be attractive; the goal is not to sand away so much material that the table loses its shape.
Use thin coats and a planned order
Paint less visible areas first where that helps you learn how the product behaves. Work along the grain where applicable and avoid overworking a section that has begun to set. A small roller may suit a broad flat top, while a brush reaches corners and narrow legs. Use the tools recommended for the coating rather than expecting one brush to handle every surface equally well.
Check the lower edges for drips before moving on. Paint collecting beneath a tabletop can harden into a ridge that is felt every time the table is moved. Apply the specified number of coats at the stated intervals. If the first coat looks patchy but is properly applied, let the system do its job instead of adding a thick wet layer to force instant coverage.
For a two-color design, finish and adequately cure the first area before applying compatible masking as directed. Test the tape. A neat border is not worth lifting the new finish from the whole edge. One solid color is often a better first project, particularly on a table with shaped legs or detailed joints.
Return it to use gradually
Follow the full cure guidance before placing objects on the top. A coating can feel dry yet remain vulnerable to impressions from books, rubber feet or a lamp base. Reattach hardware without scraping the fresh finish and check that the table still sits securely on the floor.
Use coasters or other protection appropriate to the cured coating, and wipe spills according to its care instructions. A clear topcoat does not automatically make the table waterproof or heatproof. Keep the paint details and a small properly stored remainder if the manufacturer permits, so a future touch-up uses the same system.
Look at the finished table in its room before adding more decorative changes. The new color may already connect it to a curtain, rug or picture. If a brush mark remains in an inconspicuous place, weigh the benefit of correcting it against another round of disruption. A useful, well-finished table does not need to look factory-sprayed to belong in a home.