Hem a table runner with an iron-on tape
Make a simple runner with straight folds and a tested fabric-and-tape combination rather than guessing at the iron setting.
Decide where the runner ends
A table runner can stop inside the table edges or extend beyond them. Lay a strip of paper along the table to compare both looks with chairs in place. If children can pull an overhanging end, avoid using it beneath anything hot, heavy or breakable. A shorter runner can still define the center of the table without a hanging tail.
Check the fabric pattern's direction before calculating the cut. A border print may need to run along the table, while a large motif could end up partly hidden beneath a centerpiece. Lay a paper plate over the proposed fabric and imagine the normal table setting. The runner should look considered when the table is in use, not only when it is empty.
Measure the finished length and width you want, then add the allowances required for a folded hem on all four sides. Write down the finished and cutting dimensions separately. Confusing the two can leave a runner several inches smaller than planned, especially after a generous double fold.
Test the tape on a scrap
Choose woven fabric that can tolerate the heat required by the hemming tape. Prewash and dry it as appropriate, and press before cutting. HeatnBond's instructions, for example, call for prewashing without fabric softener and testing the adhesive first. Different tape products have different pressing times and care requirements, so use the directions on the actual package rather than a universal online setting.
Make a small sample hem with the same number of layers as the runner's corner. Let it cool, then check the bond, stiffness and appearance on the right side. Adhesive may show through thin fabric or make a delicate cloth feel rigid. If the sample is disappointing, change the material or use a sewn hem instead of trying to hide the result on the finished runner.
Fold before adding adhesive
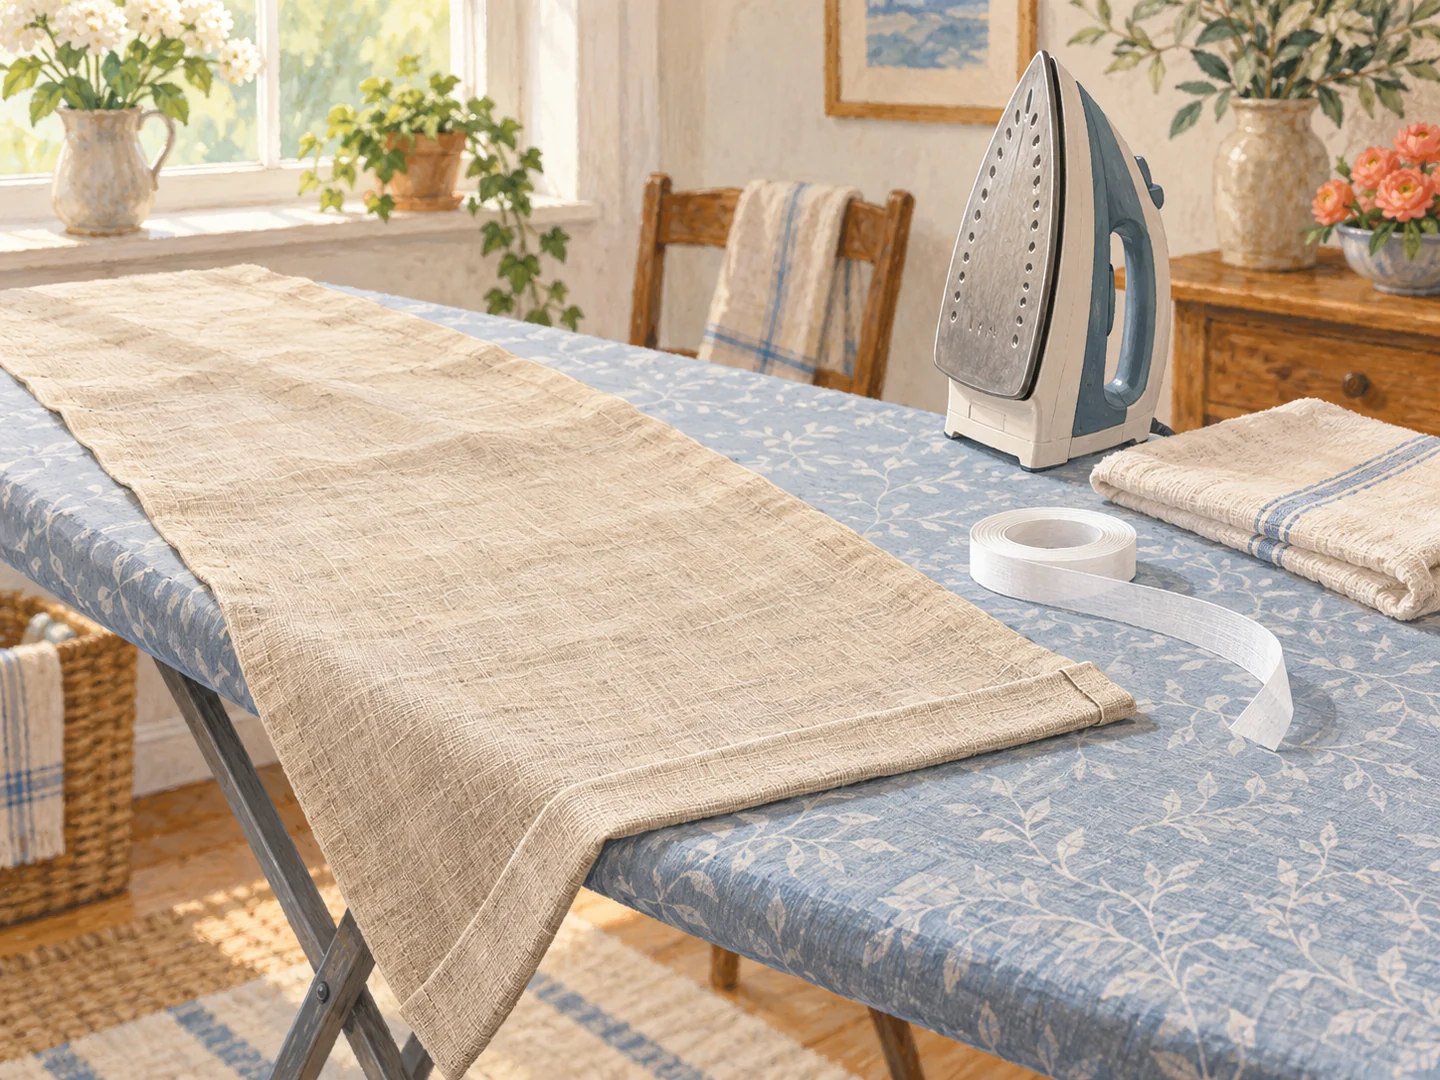
Cut the rectangle square to the fabric grain and press the folds along the long sides first. Measure in several places so the width remains consistent. Fold the short ends with the corners arranged neatly rather than leaving a thick wad beneath the final hem. A paper measuring guide helps maintain the same allowance along a long edge.
Place the tape fully inside the fold so no adhesive touches the iron or ironing surface. Apply the temperature, pressure and time specified for that tape and fabric. Lift and reposition the iron rather than sliding the folded edge out of line. Let each section cool before testing or moving it aggressively.
At the corners, check that every edge is enclosed and that the extra layers have bonded. Do not keep reheating indefinitely if a corner will not hold; excessive heat may damage the material or adhesive. Revisit the folded construction and product compatibility instead.
Wash according to the whole project
Observe the tape's waiting period before washing. After that, use care instructions that suit both the fabric and adhesive, choosing the more restrictive requirements where they differ. Inspect the hem after laundering and repair a loose edge before it unravels across the table.
Set the finished runner out with the objects you normally use. A strip of pattern may be all the decoration needed beneath a bowl of fruit or a small vase. Leave space for serving dishes and avoid using the runner as a heat-resistant pad; an iron-on hem says nothing about protection from hot cookware.