Recover a drop-in dining-chair seat
Recover a simple removable dining-chair seat only after checking that the chair, base and padding are worth keeping.
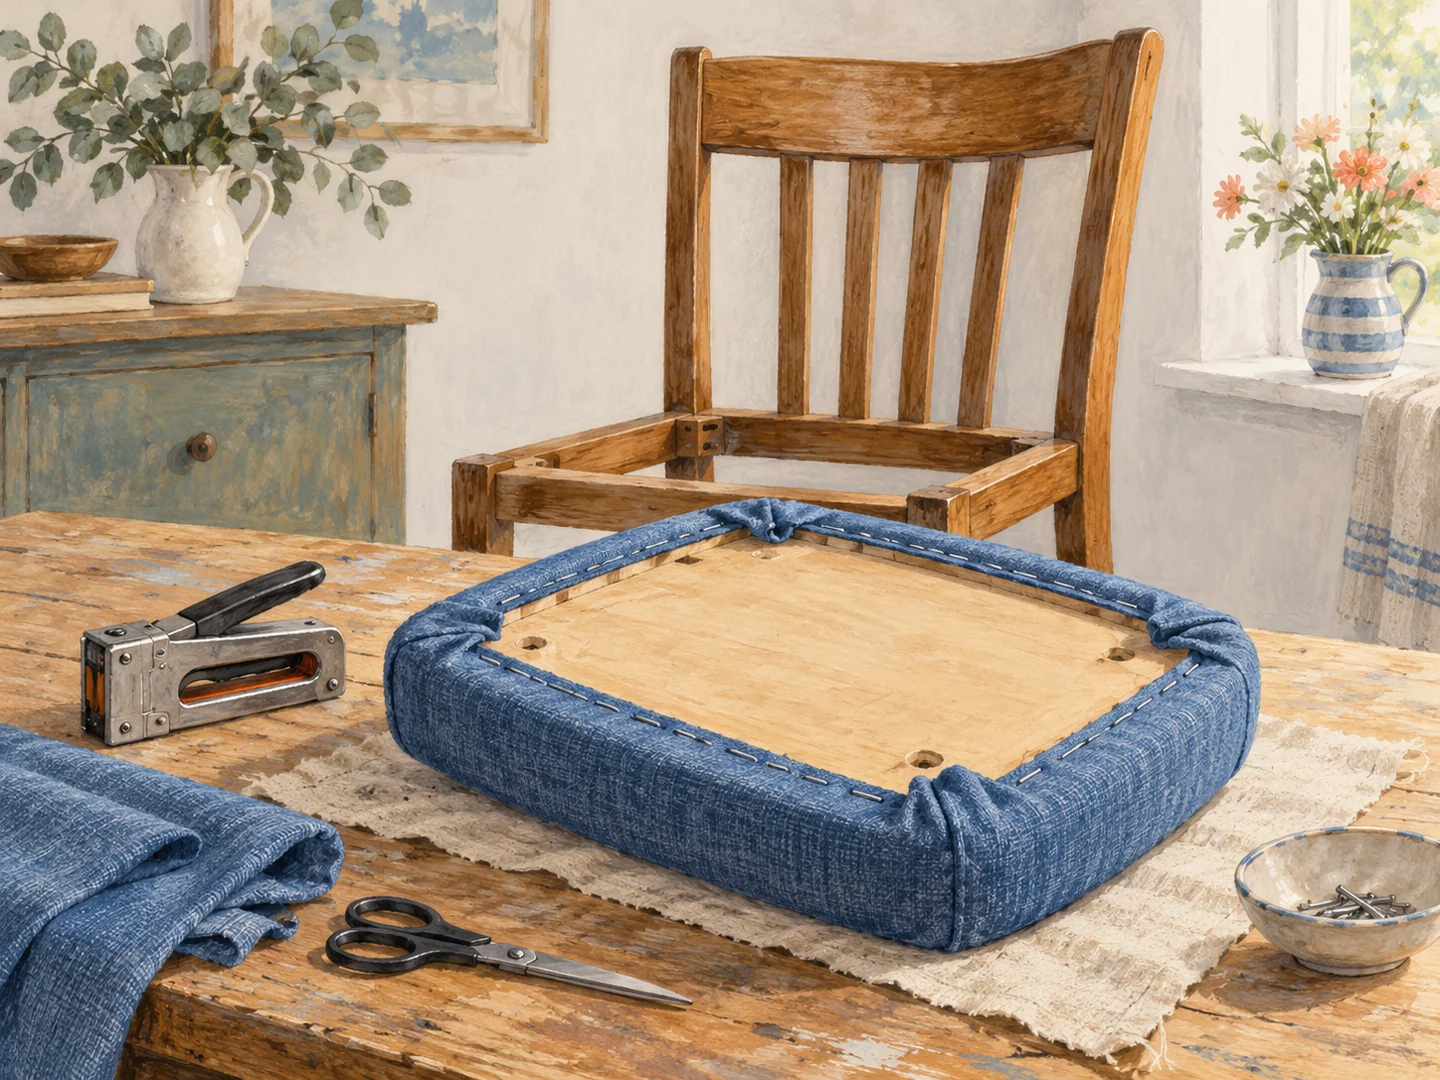
Make sure the seat is the removable kind
A drop-in seat usually comes away from the chair frame by removing screws from underneath. Turn the chair over carefully on a protected surface and inspect it before undoing anything. Photograph the screw positions and keep the fasteners labeled. If the seat is fixed in an unfamiliar way, contains complex upholstery or is part of a damaged frame, stop and seek an upholsterer's advice.
Check the chair's joints and legs separately from the fabric. Fresh upholstery cannot repair wobbling construction. Inspect the seat board for splits, damp damage and stripped screw holes. If it needs structural replacement, that work should be properly specified rather than improvised from a random sheet of board.
Look at the padding when the old cover is removed. Crumbling, damp, odorous or badly flattened material should not simply be hidden under new fabric. Replacing padding introduces choices about density, thickness, suitability and any applicable fire requirements. For a first project, a sound seat with usable padding is a much more manageable starting point.
Choose fabric for sitting, not just looking
Use fabric intended for upholstery and suitable for the chair's expected use. A thin quilting cotton may show wear or distort sooner than a fabric designed for seating. Consider cleaning instructions, texture and pattern direction. A pale loosely woven fabric might be an awkward choice for a chair used at every family meal, regardless of how well it photographs.
Lay the fabric on the seat and sit nearby to judge the scale. A large motif can be mostly hidden by the seat's curve, while a stripe makes any crooked alignment conspicuous. Purchase enough to place the pattern where you want it on every chair, rather than calculating only the smallest rectangle that covers the board.
Order a fabric sample if the color or texture is uncertain. Rub it gently against another piece of the same material and inspect how the weave responds, while remembering that a home handling test is not a formal durability rating. Ask the supplier about suitability for dining seating and follow its cleaning guidance. Keep the label or product reference with your leftover fabric so a later spot-cleaning decision does not depend on memory.
Use the old cover as a starting reference, not an unquestioned template. It may have been trimmed very close or stretched out of shape. Leave enough fabric to reach the underside securely without covering the screw locations. Mark the front direction on the wrong side so it remains clear while the seat is upside down.
Remove and fasten with care
Wear appropriate eye protection and use suitable tools to lift old staples or tacks without scattering them. Collect every removed fastener immediately. Work where children and pets cannot reach the tools or fragments. Keep your hands away from the staple gun's firing area and follow its instructions.
Choose staples appropriate to the seat base and project; they must not protrude through the top. Test the fastening on a suitable sample or inconspicuous underside area before working around the whole seat. Do not assume that longer staples are better. They need enough grip without reaching a sitting surface or damaging the board.
Place the fabric face down and center the seat above it. Secure the middle of one side, then its opposite, using enough tension to smooth the face without crushing the padding. Continue with the other pair of sides. Work gradually toward the corners, checking the front often so a stripe or motif does not drift.
Keep the corners flat
Corners need small controlled folds rather than a large bundle tucked underneath. The appropriate fold depends on the seat shape and fabric thickness. Test it before trimming excess material. Leave enough fabric beyond the fasteners to resist pulling free, but avoid bulky layers where the seat must meet the chair frame.
Keep the original attachment points accessible. A fabric layer that covers a screw hole can be marked and opened carefully as appropriate, but do not drill new holes casually to avoid finding the old ones. Inspect the entire underside for projecting staples, loose threads and uneven material before reassembly.
On a set of chairs, compare the first completed seat with the next cut piece before fastening it. The front of a directional print should face the same way on each chair, and a repeated motif may need the same position rather than merely the same cutting dimensions. Lay the pieces out together while changes are still easy. This avoids finishing several individually neat seats that look unintentionally inconsistent around the table.
Refit the seat using the correct hardware and tighten it as the chair requires. Confirm that it sits evenly and is securely attached before use. Save a labeled fabric offcut with care information for future repairs. If the first chair develops puckers after a few uses, address the cause before recovering the remaining set; one completed seat is a useful trial, not a commitment to repeat the same mistake six times.